How-To: Record and Share Videos using ScreenPal (formerly Screencast-O-Matic)

Mar 17, 2020
How-To: Record and Share Videos using ScreenPal (formerly Screencast-O-Matic)
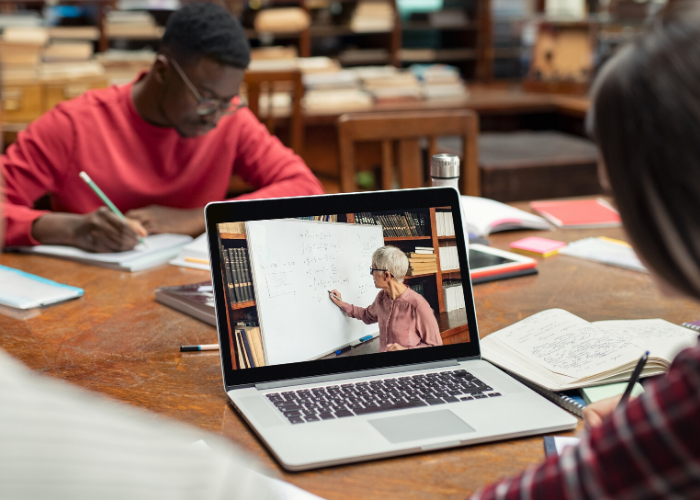
There are many ways to record and share videos with students. ScreenPal (formerly Screencast-O-Matic) is an intuitive, easy-to-use video recording tool that helps faculty connect and engage students in meaningful ways globally. With ScreenPal (formerly Screencast-O-Matic), you can deliver lectures, create tutorials, record your screen (screencasting), and provide personalized small group or 1:1 instruction and feedback. And, because it’s recorded, students may watch the video more than once — allowing them to take their time, write notes, and reflect on the material over time to develop a deeper understanding of core concepts.
ScreenPal (formerly Screencast-O-Matic) offers free and paid accounts. Although the free version has a 15-minute limit, there’s a lot you can do with 15 minutes of focused video presentation. ‘Chunking’ content into small, digestible bites (in this case: ‘multiple, shorter video segments’) is an effective strategy for helping students process large quantities of information or complex concepts.
While using a third-party video and screencast recording app may seem intimidating, ScreenPal's (formerly Screencast-O-Matic) numerous video tutorials make it easy for everyone to start recording and sharing video content.
To Start Using ScreenPal (formerly Screencast-O-Matic):
- Visit ScreenPal.com and click "Download ScreenPal for free." Follow prompts in the browser as necessary to open and download the launcher.
- Open the installation file that downloads and follow the prompts on your computer.
- Click the "Launch Free Recorder" button again after installing the software.
- Choose what you’d like to record:
- Your computer screen only
- Your webcam only
- Both
- If you’ve selected ‘computer screen’ or ‘both,’ adjust the perimeter of the dotted rectangle framing your screen to fit the section of the screen you wish to record.
- Adjust narration settings for microphone and computer sounds.
- Press the record “Rec” button to start recording.
- Press the Pause button to temporarily stop recording.
- After pausing, you can:
- Resume recording
- Playback the recording
- Delete the recording
- Complete and save the recording
- After pausing, you can:
- After clicking “Done,” click “Save/Upload” to save your video.
- NOTE: Edit Video options are only available with a paid plan.
- Choose one of the 3 ways to save your video:
As a file on your computer
To save as an mp4 video file on your computer:
- Click the Save As Video File button.
- Give the file a filename (aka Title)
- Choose the folder to which you would like to save the file
- Click Publish
Upload to ScreenPal (formerly Screencast-O-Matic)
- Click the Upload to ScreenPal (formerly Screencast-O-Matic) button
- Follow the prompts to grant permission for the software to access your ScreenPal (formerly Screencast-O-Matic) account
- Give the file a Title
- Add a Description and adjust additional settings (optional)
- Click Publish
Upload to YouTube
To upload to YouTube:
- To get the “Upload to YouTube” option to appear, click the icon in the upper right-hand corner of the menu (3 horizontal lines with a “+” sign)
- Click “Upload to YouTube” in the new menu that appears
- Click the “Launch web browser” button in the new window, then click “Allow” to authorize ScreenPal (formerly Screencast-O-Matic) to access your YouTube account
- Choose the “Upload to YouTube” option to upload the video to your Miami YouTube channel
- Give the file a Title, and optionally add a Description and Tags to your video
- Adjust Privacy to “Unlisted”
- Select Category
- Click Publish
Sharing Files in Canvas with YouTube, Kaltura, and Google Drive
If your end goal is to share your ScreenPal (formerly Screencast-O-Matic) file into your Canvas course site, there are a few ways to do this. One way is to share files in Canvas with YouTube, Kaltura, and Google Drive. The video below walks through the steps to share your files in Canvas:
Sharing Directly from ScreenPal (formerly Screencast-O-Matic)
If you chose the "Upload to ScreenPal.com" option when you published your video, it will be available when you log into your ScreenPal (formerly Screencast-O-Matic) online account.
From here, you can get a direct link to share the video, an embed code to embed the video on a website or in a Canvas page, or links to share your video on various platforms such as email, social media, Google Classroom, or Microsoft Teams.
For more information, check out ScreenPal's (formerly Screencast-O-Matic) step-by-step walkthrough on sharing content published to ScreenPal.com.